How To add counters to your LabelWriter Labels using Dymo Label Software (Tutorial)
In this training session I'll show you how to use counters (sequential / incremental numbering) in the Dymo Label Software. Counters allow you to show a number on the label and have it increment each time a label is printed, usually by 1 at a time but you can increment is by other amounts.
For the purposes of this training session we will use a fictional Auction company that wants to print Lot Number labels for each auction on a LabelWriter Twin label printer (though this functionality works exactly the same for the rest of the LabelWriter range, I just happen to have a Twin connected to this PC).
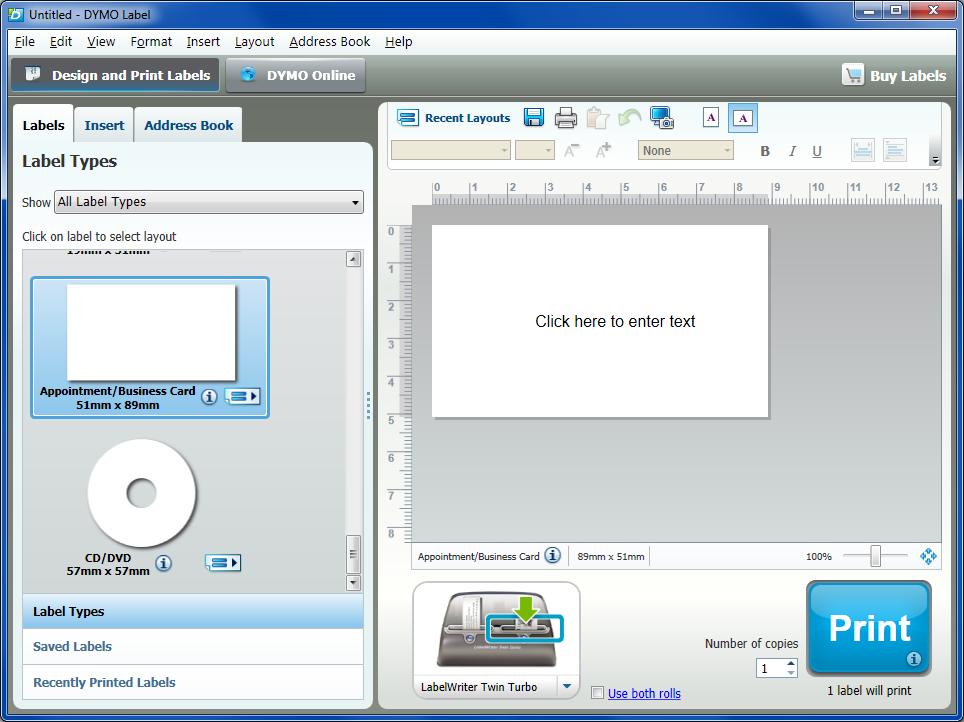
Firstly open the Dymo Label Software and create a new label by double clicking on a label layout from the "Labels" tab on the left (in this example we'll use the non-adhesive appointment card label).
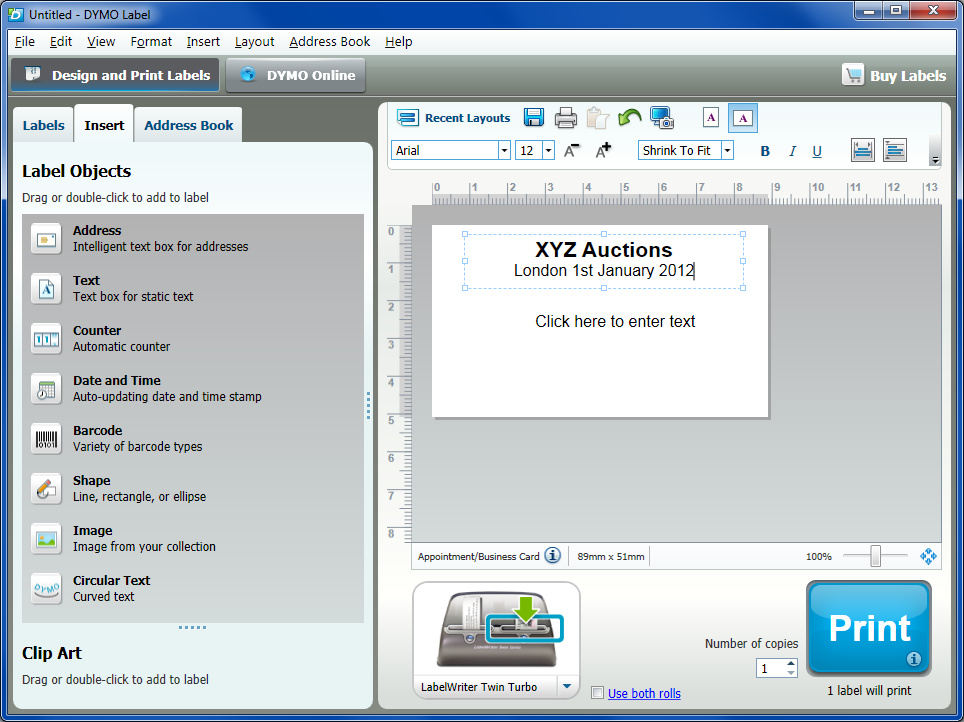
Delete the existing text field on the label. Now select the "Insert" tab and drag a text box over, this will have the name of the auction so type that in here.
Now drag the special "Counter" object from the left and drop it onto the label. It will default to something like "001".
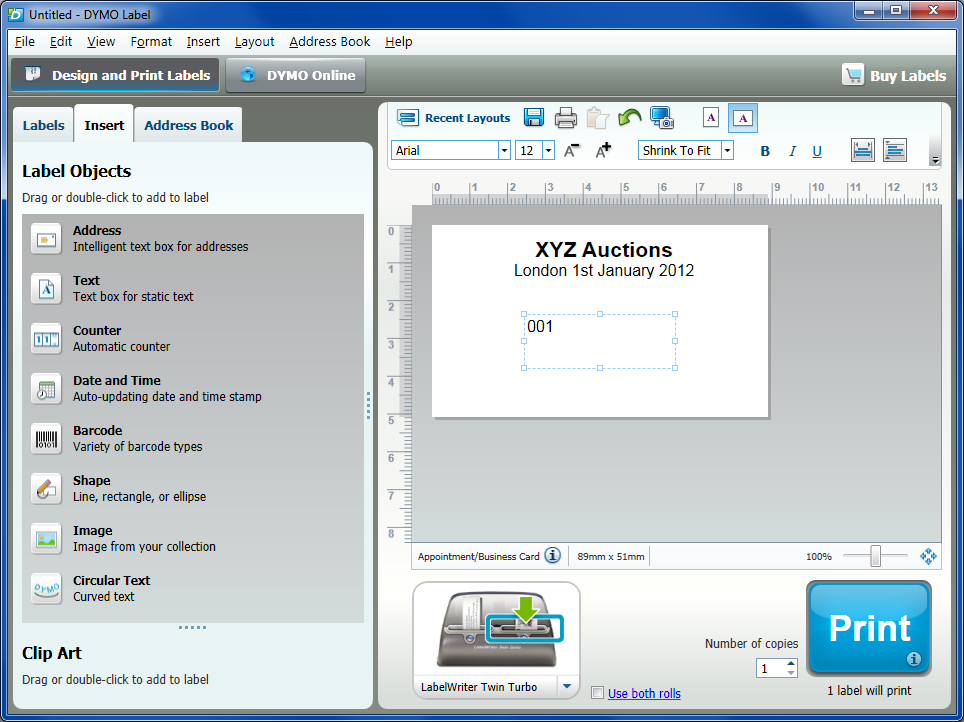
Now right click the counter and set the properties:
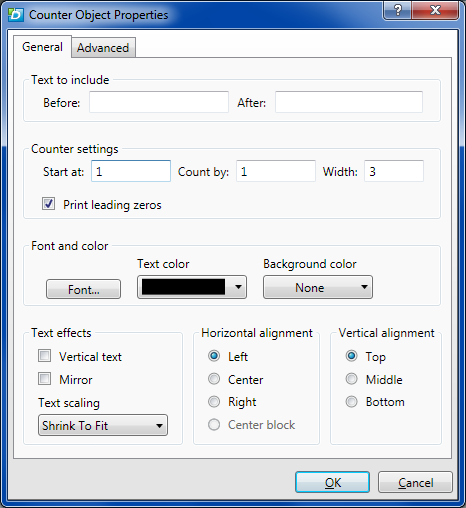
You can enter some text that will always appear before the counter (in this case "LOT NO: ") and/or after the counter. You can also set the number to start at (in most cases this would be 1, but let's say you printed 500 labels off and then discovered you needed another 20 starting at 501 - now you can set this value to 501 and it will count from there).
You can also set the "count by" value which is how much the number will increment by each time - eg. if you set it to 2 the numbers will go 1, 3, 5, 7, 9, 11 etc. Lastly, you can set the width - this is only really useful when you select the "print leading zeroes" option. So the number 1 with a width of 5 would appear as "00001" instead of "1". In this case we'll leave it at 3 as we're not expecting more than 999 lots in our example auction.
You can also set the font as with a normal text box, so I've changed the font to impact and ramped it up to a decent point size.

Now all you have to do is tell it how many labels to print ("Number of copies" next to the print button) and press print - Simples!
It will now print that number of labels with the Lot Number incrementing each time by 1 starting at 1 (001,002,003,004,005,006,007 etc)

.jpg)
.jpg)
.jpg)